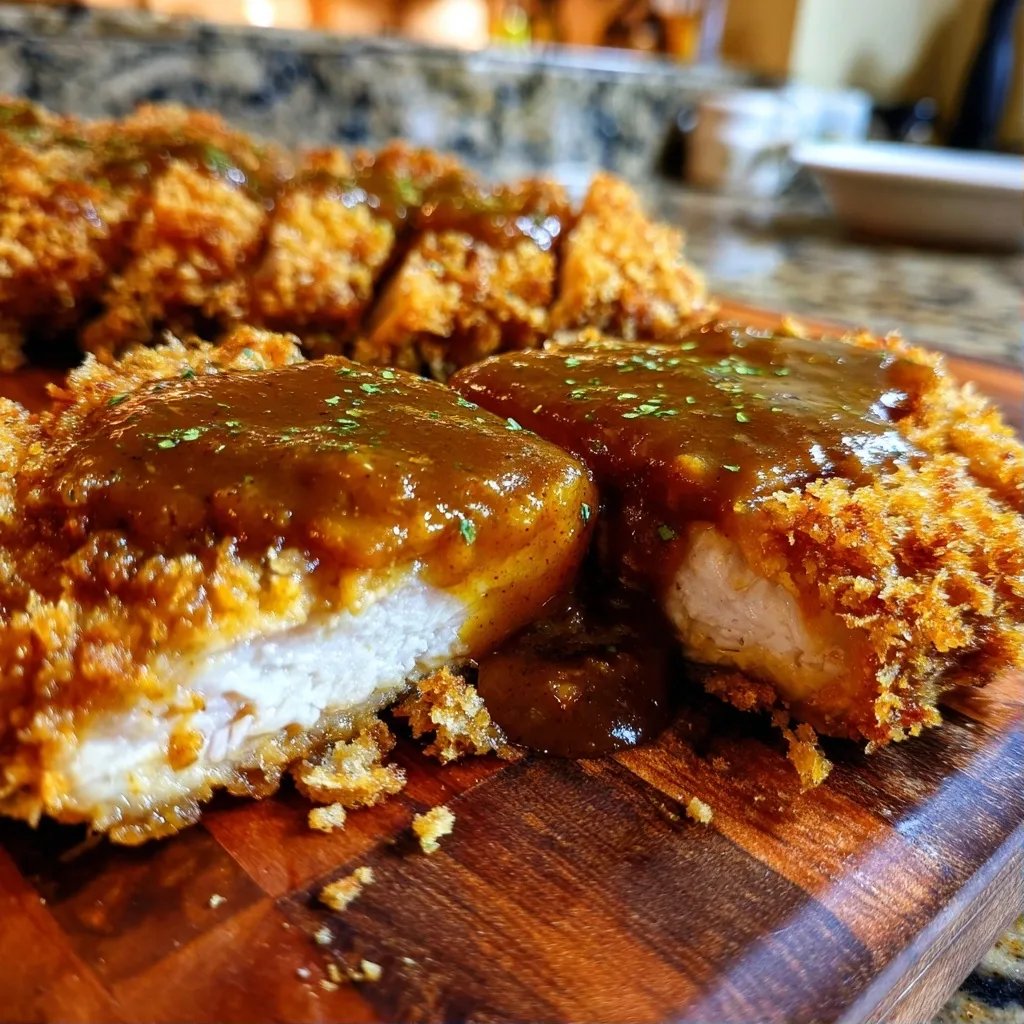
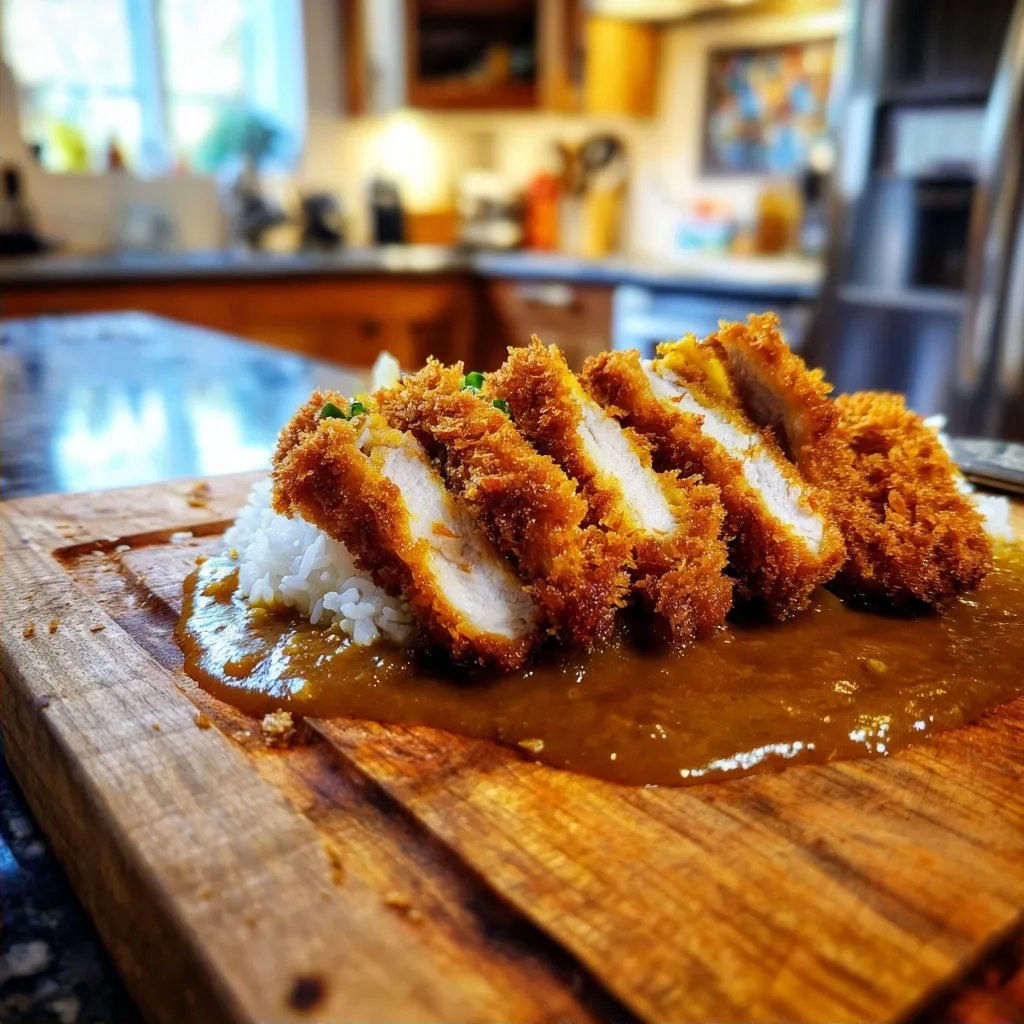
Katsu Curry Chicken
Highlighted under: World Cuisine
I remember the first time I had katsu curry at a little Japanese place downtown, and I couldn’t stop thinking about it for days. The crispy chicken, warm curry sauce, and fluffy rice made such a cozy meal. Now, every time I make it at home, I feel a bit nostalgic. The best part? My partner said it’s better than what we get at the restaurant, which honestly makes me so happy. It's a comforting dish that always brings a smile to our faces.
One day I decided to recreate that delicious memory in my own kitchen, but with a few personal touches. I tried using panko breadcrumbs for the chicken, which gives it that extra crunch. Honestly, I didn’t think it would be so simple. Once I paired it with a curry sauce I made from scratch, it reminded me of those cozy winter nights I spent enjoying this dish.
Another tip I discovered is to let the chicken rest for a few minutes after frying. This way, it stays super juicy inside. The kids love helping me coat the chicken in panko, and it turns into a fun family activity. Plus, I'm always amazed at how a simple dish can bring everyone together, laughing and enjoying the warmth of home-cooked meals.
Getting the Texture Right for Katsu Curry Chicken
Getting the chicken to have that deliciously crispy texture is key. When you coat the chicken thighs in panko, make sure to press it down gently so it adheres well. I always find it helpful to let the coated chicken sit for a few minutes before frying. This way, the panko sticks better during cooking, giving that satisfying crunch we all love.
Frying can be a little tricky if you're new to it. Keep an eye on the oil temperature. If it's too hot, the chicken might cook too fast on the outside but stay raw inside. If you see the oil smoking, reduce the heat a bit. I usually cook it until I see golden edges forming, then I flip it to cook the other side.
Ingredient Notes
When it comes to the curry sauce, don’t feel boxed in by the ingredients. If you're out of ginger, garlic can be a nice substitute, or even a dash of garlic powder if that’s all you have. As for the curry powder, I generally use a mild version, but if you like a kick, you might want to throw in some crushed red pepper or a pinch of cayenne.
Lastly, about the cornstarch—mixing it with cold water before adding it to the sauce is essential. This step prevents clumping. If you find yourself without cornstarch, all-purpose flour works in a pinch. Just remember that baking it into the sauce might create a slightly different texture but still gets the job done.
Ingredients
Gather these ingredients before you start cooking:
For the Chicken
- 4 boneless, skinless chicken thighs
- 1 cup panko breadcrumbs
- 1/2 cup all-purpose flour
- 2 large eggs, beaten
- 1 teaspoon Diamond Crystal kosher salt
- 1/2 teaspoon black pepper
- Vegetable oil, for frying
For the Curry Sauce
- 1 onion, finely chopped
- 2 carrots, peeled and sliced
- 1 tablespoon grated ginger
- 2 tablespoons curry powder
- 1 1/2 cups chicken broth
- 2 tablespoons soy sauce
- 1 tablespoon honey
- 1 tablespoon cornstarch mixed with 2 tablespoons cold water
- Salt and pepper, to taste
For Serving
- Cooked rice, for serving
- Chopped green onions, for garnish
Make sure to prep everything beforehand to streamline the cooking process.
Instructions
Follow these steps to make your katsu curry chicken:
Prepare the Chicken
Season the chicken thighs with salt and pepper. Set up a dredging station with three shallow bowls: one for flour, one for the beaten eggs, and one for panko breadcrumbs. First, coat each chicken thigh in flour, shaking off the excess, then dip it into the eggs, and finally, coat it in panko. Make sure the panko is evenly distributed to get that nice crunch.
Fry the Chicken
In a large skillet, heat about 1/2 inch of vegetable oil over medium-high heat. Once the oil is hot, carefully add the chicken thighs and fry them for about 4-5 minutes on each side, until they are golden brown and cooked through. Make sure not to overcrowd the pan, or they'll steam instead of fry. Use a meat thermometer if you’re unsure, it should read 165°F.
Make the Curry Sauce
While the chicken is frying, take another pan and sauté the chopped onion and sliced carrots in a little oil over medium heat until they're soft, about 5 minutes. Stir in the grated ginger and curry powder, cooking for an additional minute until fragrant. Then pour in the chicken broth, soy sauce, and honey. Allow it to simmer for about 10 minutes.
Thicken the Sauce
Mix the cornstarch with cold water in a small bowl, then slowly add it to the simmering sauce, stirring constantly. This will help thicken the sauce. Cook for another few minutes until it reaches your desired consistency. If you want to season it more, just taste and adjust with salt and pepper.
Serve
Once the chicken is done, remove it from the oil and place it on paper towels to drain. Slice it into strips and serve it over a bed of rice, generously drizzled with the curry sauce. Don't forget to sprinkle some chopped green onions on top for a fresh touch.
Enjoy your homemade katsu curry chicken!
Pro Tips
- You can use chicken breasts instead of thighs if that's what you have on hand. To save time, prep your curry sauce while the chicken is frying. If you like it spicy, feel free to add chili powder or sriracha to the sauce.
Troubleshooting
If your sauce turns out too thin, don’t fret. Just give it a little more time on the heat after adding the cornstarch. Keep stirring and it should thicken up nicely. On the other hand, if it's too thick, a splash of chicken broth can work wonders to smooth it back out. I’ve had plenty of sauces that didn’t quite turn out as planned, and it’s all part of the learning process.
When frying, if the chicken starts to look overly dark but isn’t cooked through, pop it into the oven at 350°F for about 10 minutes. This helps to finish cooking it without burning the outside. I’ve had a few pieces that had to take the oven detour, and honestly, it still turns out great!
Katsu Curry Chicken Variations Worth Trying
If you want to mix things up a bit, consider swapping out the chicken for pork. Pork katsu has its own unique flavor and pairs nicely with the curry sauce. It’s just as easy and delicious, so I’ll often do this depending on what I have in the fridge.
For veggie lovers, you can make a katsu with eggplant or zucchini. Just slice it into manageable pieces, coat them in flour, egg, and panko like you would with the chicken. You’ll get a lovely savory crunch that complements the curry really well. This kind of substitution can be a nice addition to a meat-free night!
Katsu Curry Chicken
Created by: The Simplecooktips Team
Recipe Type: World Cuisine
Skill Level: Intermediate
Final Quantity: 4.0
What You'll Need
For the Chicken
- 4 boneless, skinless chicken thighs
- 1 cup panko breadcrumbs
- 1/2 cup all-purpose flour
- 2 large eggs, beaten
- 1 teaspoon Diamond Crystal kosher salt
- 1/2 teaspoon black pepper
- Vegetable oil, for frying
For the Curry Sauce
- 1 onion, finely chopped
- 2 carrots, peeled and sliced
- 1 tablespoon grated ginger
- 2 tablespoons curry powder
- 1 1/2 cups chicken broth
- 2 tablespoons soy sauce
- 1 tablespoon honey
- 1 tablespoon cornstarch mixed with 2 tablespoons cold water
- Salt and pepper, to taste
For Serving
- Cooked rice, for serving
- Chopped green onions, for garnish
How-To Steps
Season the chicken thighs with salt and pepper. Set up a dredging station with three shallow bowls: one for flour, one for the beaten eggs, and one for panko breadcrumbs. First, coat each chicken thigh in flour, shaking off the excess, then dip it into the eggs, and finally, coat it in panko. Make sure the panko is evenly distributed to get that nice crunch.
In a large skillet, heat about 1/2 inch of vegetable oil over medium-high heat. Once the oil is hot, carefully add the chicken thighs and fry them for about 4-5 minutes on each side, until they are golden brown and cooked through. Make sure not to overcrowd the pan, or they'll steam instead of fry. Use a meat thermometer if you’re unsure, it should read 165°F.
While the chicken is frying, take another pan and sauté the chopped onion and sliced carrots in a little oil over medium heat until they're soft, about 5 minutes. Stir in the grated ginger and curry powder, cooking for an additional minute until fragrant. Then pour in the chicken broth, soy sauce, and honey. Allow it to simmer for about 10 minutes.
Mix the cornstarch with cold water in a small bowl, then slowly add it to the simmering sauce, stirring constantly. This will help thicken the sauce. Cook for another few minutes until it reaches your desired consistency. If you want to season it more, just taste and adjust with salt and pepper.
Once the chicken is done, remove it from the oil and place it on paper towels to drain. Slice it into strips and serve it over a bed of rice, generously drizzled with the curry sauce. Don't forget to sprinkle some chopped green onions on top for a fresh touch.
Extra Tips
- You can use chicken breasts instead of thighs if that's what you have on hand. To save time, prep your curry sauce while the chicken is frying. If you like it spicy, feel free to add chili powder or sriracha to the sauce.
Nutritional Breakdown (Per Serving)
- Calories (kcal): 480
- Total Fat (g): 24.3
- Saturated Fat (g): 4.2
- Cholesterol (mg): 151
- Sodium (mg): 802
- Total Carbohydrates (g): 51.5
- Dietary Fiber (g): 2.4
- Sugars (g): 7.2
- Protein (g): 22.5