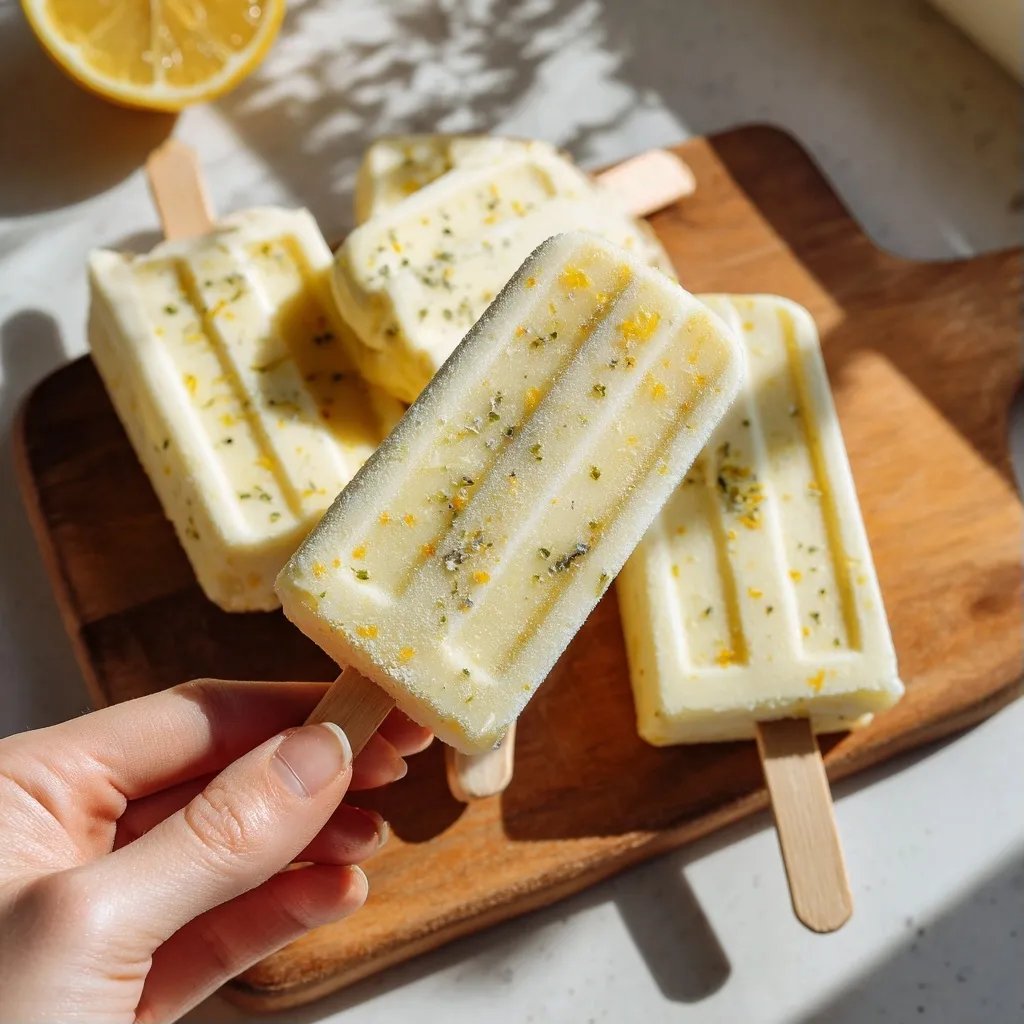
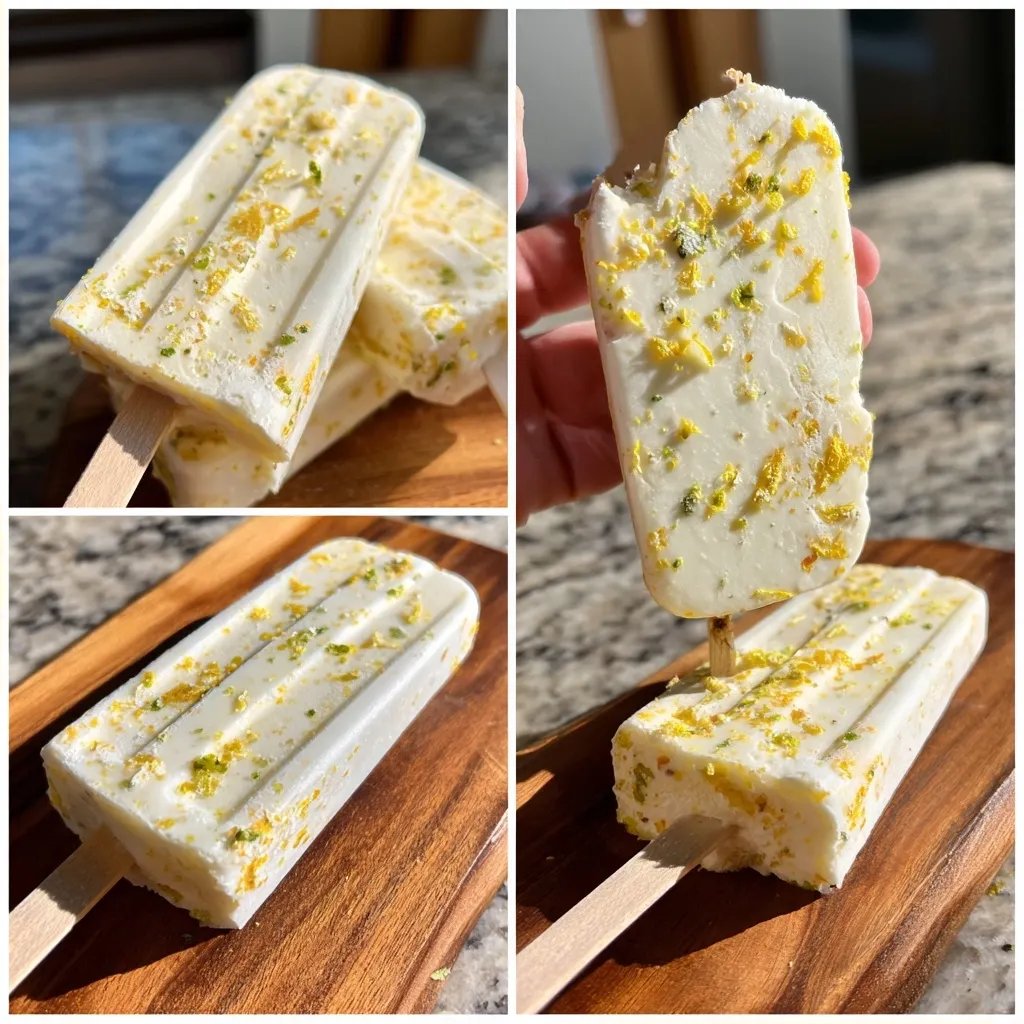
Frozen Lemon Yogurt Pops
Highlighted under: Light & Fresh
Ever crave something refreshing on a hot day but want to skip the sugary ice cream? These frozen lemon yogurt pops have become my go-to treat. They're super easy to make and my kids love helping out in the kitchen. Just the other day, my partner said these were way better than any store-bought version we've tried. Honestly, it feels good knowing exactly what's going into them too!
I've always been a fan of homemade treats, and these frozen lemon yogurt pops are a simple, guilt-free delight. The natural tartness from the lemons combined with the creaminess of the yogurt is just what I need to cool down on a sunny afternoon.
One time, I tried swapping plain yogurt for a coconut-flavored one, thinking it would add a nice twist. Spoiler alert: it failed spectacularly and just didn't mix well with the lemon. Stick with a good quality plain yogurt, like Chobani, for the best results.
Why I Keep Making This
- So simple, kids can help
- Lemon flavor isn’t overpowering
- You can customize with different fruits
What to Know Before Making Frozen Lemon Yogurt Pops
These frozen lemon yogurt pops are super simple, but there are a couple of tips that can help. First, taste your yogurt before mixing in the honey, as some brands can be sweeter than others. Adjust the honey to match your preference; I often find that less can be more. If you want a more intense lemon flavor, feel free to add more zest. Just keep in mind, lemon can be quite a strong flavor when you’re working with fresh juice and zest.
Also, if you don't have popsicle molds, plastic cups and wooden sticks work just fine! Just remember to fill the cups a bit less than you would the molds since they can spill when you insert the sticks. And speaking of tools, a good whisk can make a world of difference here, making sure everything blends nicely until smooth.
Ingredients
Gather these ingredients and let’s get started!
Ingredients
- 2 cups plain Greek yogurt (I prefer Chobani)
- 1/2 cup fresh lemon juice (about 3-4 lemons)
- 1/2 cup honey (add more if you like it sweeter)
- Zest of 1 lemon
- Pinch of salt
Once you have everything, we can start mixing!
Instructions
Let’s get mixing. This part is easy!
Mix it all together
In a medium bowl, combine the Greek yogurt, fresh lemon juice, honey, lemon zest, and a pinch of salt. Use a whisk to mix everything until it’s smooth. If it feels too thick, you can add a splash of water, but it should be creamy enough.
Pour into molds
Once your mixture is ready, carefully pour it into your popsicle molds. I usually use a 6-cavity silicone mold; it makes it easier to pop them out later. Fill each cavity almost to the top, leaving a tiny bit of space for expansion.
Freeze
Stick the molds in your freezer for at least 4 hours, or until they're solid. If you're in a rush, you can freeze them for about 2 hours, just check every so often until they feel firm. If I’m feeling extra patient, I let them freeze overnight.
Enjoy
When they're ready, run warm water over the outside of the molds for a few seconds to help release the pops. Don't forget to go slow, or you might end up with a broken pop. Enjoy these treats on a hot day!
So refreshing and surprisingly easy, right?
Troubleshooting
If your pops are hard to remove from the molds, try running them under warm water for a few seconds longer. I’ve had moments where they were stubborn, and a little extra patience does wonders. If they do break, don’t worry too much. You can just put them back together in a bowl and call it a lemon yogurt parfait instead.
Another thing is texture. If you find the mixture turns out too icy after freezing, it might just need a touch more honey or a little more lemon juice next time. The balance of sugars helps achieve that creamy texture we’re aiming for.
Frozen Lemon Yogurt Pops Variations Worth Trying
One of my favorites is adding fresh berries to the mix. Just fold in some chopped strawberries, blueberries, or raspberries after you've made the yogurt mixture. It adds a lovely color and a bit of extra sweetness that balances nicely with the tartness of the lemon.
You can also swap out the honey for maple syrup if that's more your style. It gives a different kind of sweetness, and I think it pairs well with the lemon too. Sometimes, I’ll throw in a sprinkle of chia seeds for added nutrition. It’s like a little surprise in every bite.
For a tropical twist, try adding a bit of coconut milk to the mix for a creamier texture along with the yogurt. Just remember, this will change the flavor a bit, so adjust the lemon accordingly so it doesn’t overpower.
Questions About Recipes
→ Can I use a different sweetener?
Sure, though I wouldn’t recommend using just any old sweetener. Maple syrup works, but you might need to adjust the amount.
→ How long do these keep in the freezer?
Honestly, I usually finish them within a week, but they can last up to two months if stored properly.
→ Can I add other fruits to the mix?
Absolutely! Fresh berries or even some mango puree can mix nicely, just keep the proportions similar.
→ What if I don’t have pop molds?
You can use small cups and insert popsicle sticks if you have them, or even just small bowls will work. Creative solutions!
→ Do these pops have a lot of sugar?
Not as much as commercial pops! If you're concerned, just adjust the honey to your taste.
Frozen Lemon Yogurt Pops
Created by: The Simplecooktips Team
Recipe Type: Light & Fresh
Skill Level: Beginner
Final Quantity: 6.0
What You'll Need
Ingredients
- 2 cups plain Greek yogurt (I prefer Chobani)
- 1/2 cup fresh lemon juice (about 3-4 lemons)
- 1/2 cup honey (add more if you like it sweeter)
- Zest of 1 lemon
- Pinch of salt
How-To Steps
In a medium bowl, combine the Greek yogurt, fresh lemon juice, honey, lemon zest, and a pinch of salt. Use a whisk to mix everything until it’s smooth. If it feels too thick, you can add a splash of water, but it should be creamy enough.
Once your mixture is ready, carefully pour it into your popsicle molds. I usually use a 6-cavity silicone mold; it makes it easier to pop them out later. Fill each cavity almost to the top, leaving a tiny bit of space for expansion.
Stick the molds in your freezer for at least 4 hours, or until they're solid. If you're in a rush, you can freeze them for about 2 hours, just check every so often until they feel firm. If I’m feeling extra patient, I let them freeze overnight.
When they're ready, run warm water over the outside of the molds for a few seconds to help release the pops. Don't forget to go slow, or you might end up with a broken pop. Enjoy these treats on a hot day!
Nutritional Breakdown (Per Serving)
- Calories (kcal): 83
- Total Fat (g): 2.2
- Saturated Fat (g): 1.3
- Cholesterol (mg): 6
- Sodium (mg): 30
- Total Carbohydrates (g): 13.5
- Dietary Fiber (g): 0.1
- Sugars (g): 11.1
- Protein (g): 3.9